


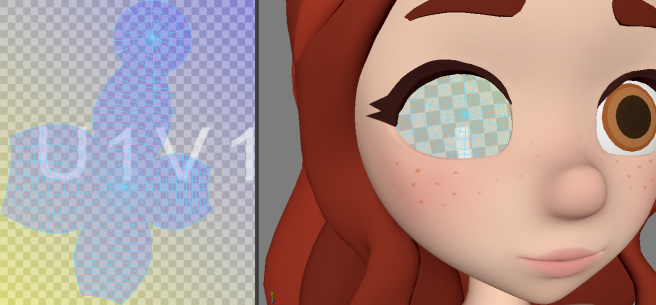
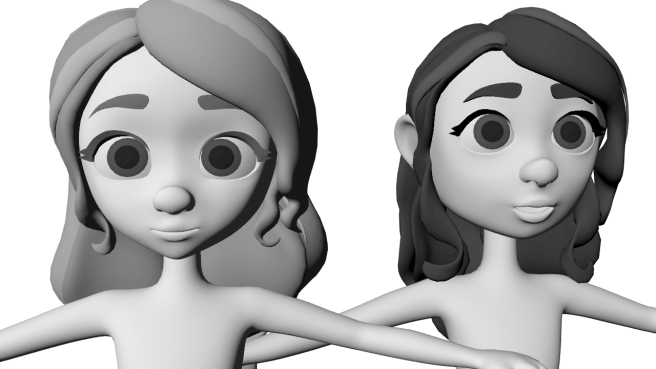
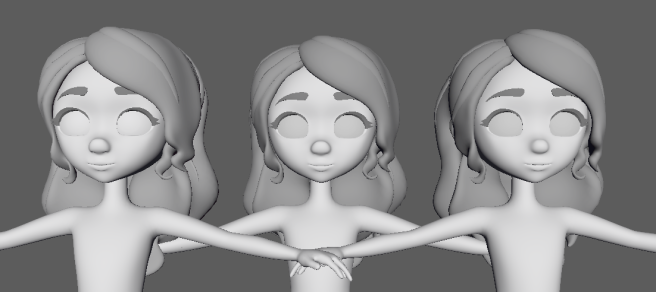
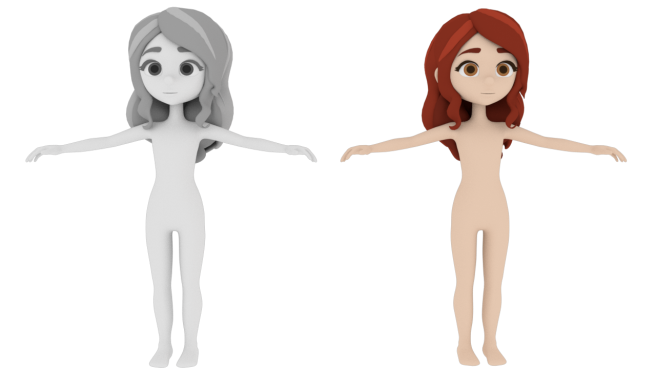
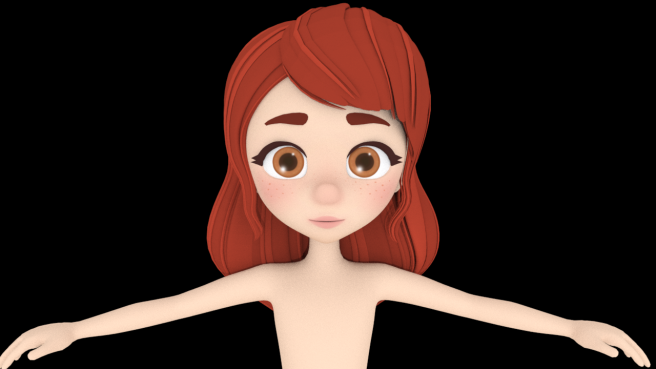
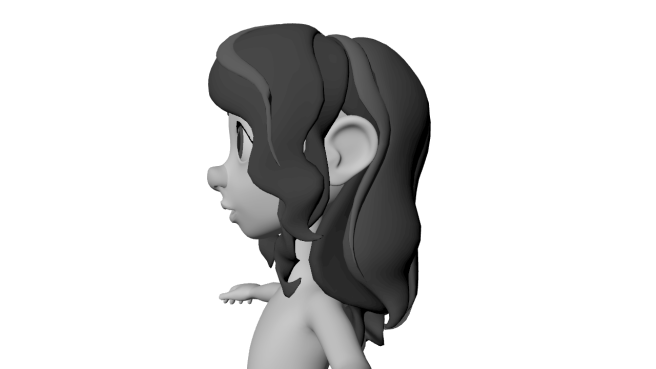
When we got feedback from Joel he said that she didn’t look young enough, which I do agree with, so I gave her more of a button nose and made her face more of a V shape, and gave her face more S curves. You can see below how she looked before on the right, and how she looks now on the left
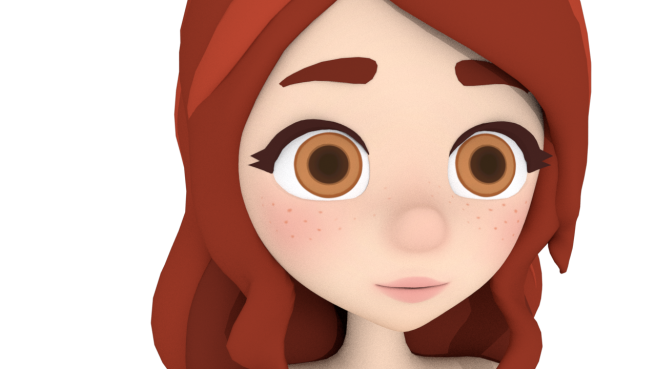
Something I also had to experiment in is how the nose should look, I showed Joel the below image and he liked the one without nostrils the best. More like Sofia the First.
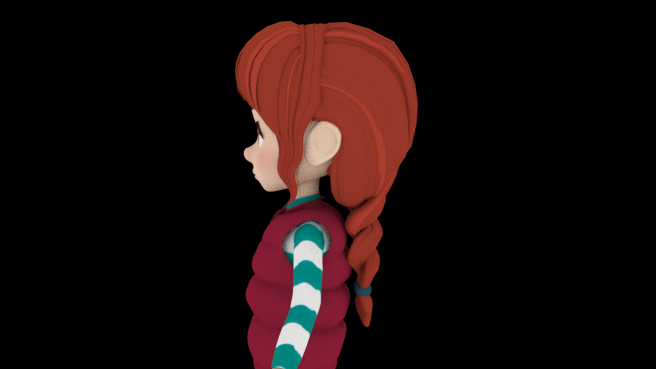
I then moved onto the hair, since he wanted hair for when she is horse riding I had to do her hair in plaits. I took a picture of Jenny’s hair plaited for reference and then began to block out the hair;

I used the curve tool in ZBrush to do this and the tweaked it when they were in place;
Doing the plaited part was quite difficult as it was a lot of tweaking and moving
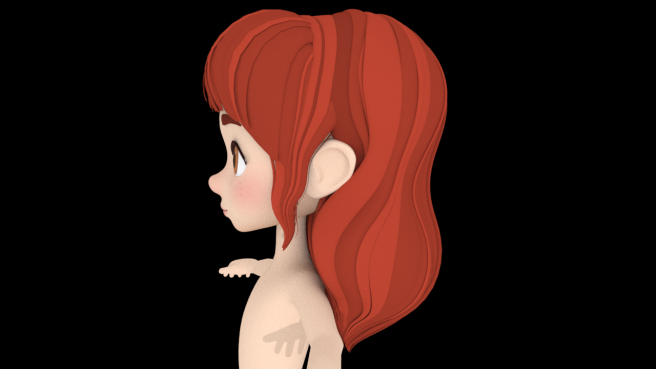
I then added in the fringe part, using the same techinique;

For her main hair, Joel wanted the strands at the side of her face shorter and puffier. I then also experimented with different face shapes as you can see below but he liked the original one best which is the first face;
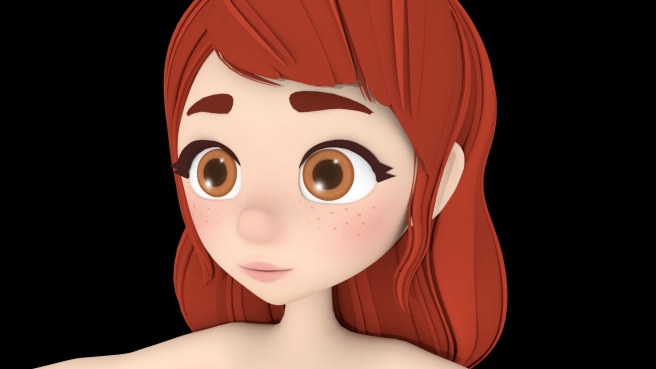
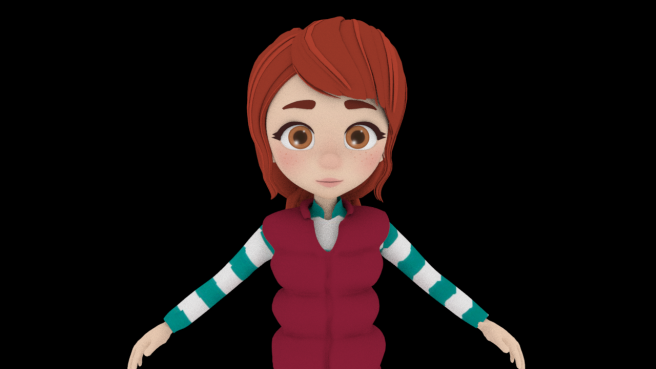
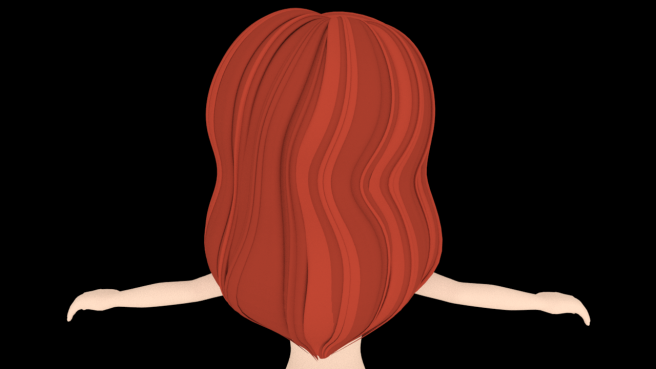
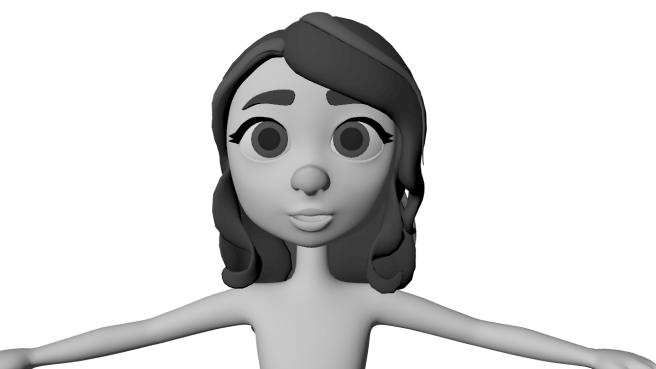
I then added some color which made a lot of difference, and gave more life to the character;
Finalized hair
So Joel gave us feedback that he wanted more strands in her hair and that her fringe should be more short rather then it flowing down her face. So I went in and added more strands to the hair and fixed the fringe.

I did the same with the long hair;
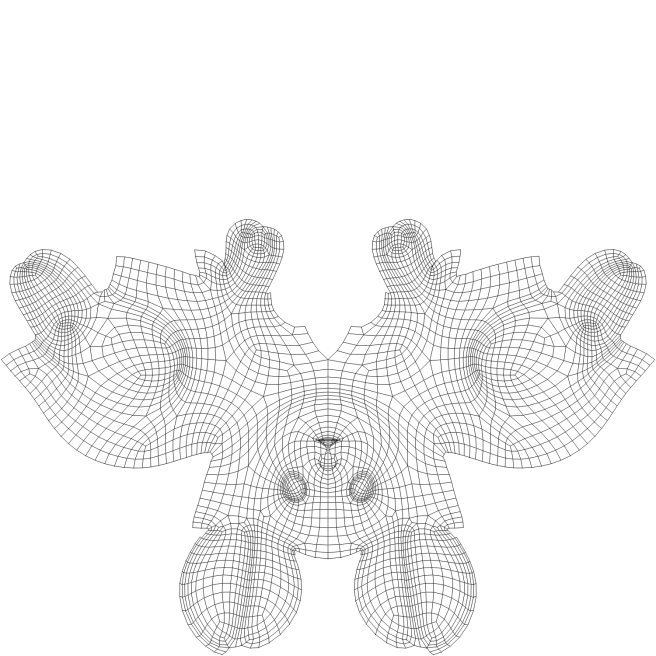
Process of doing the rabbit model
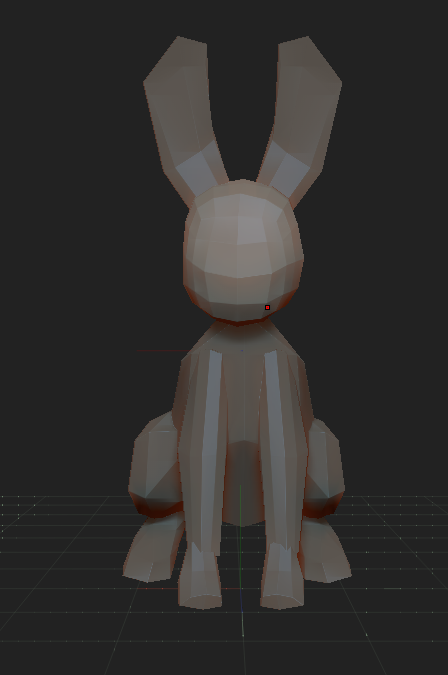
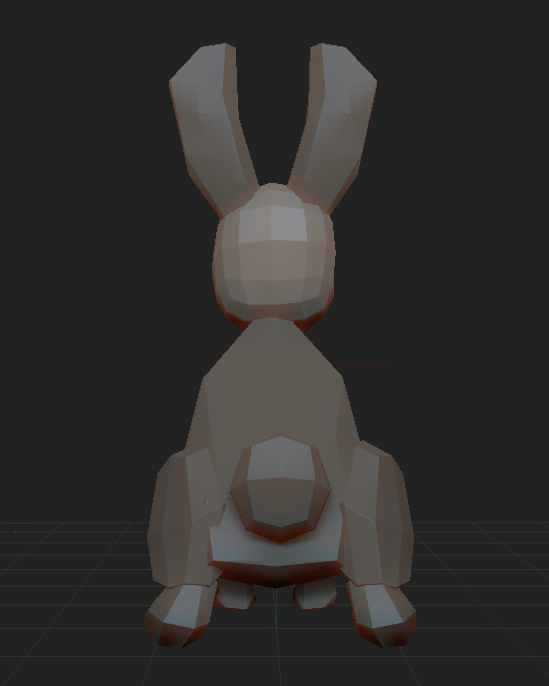
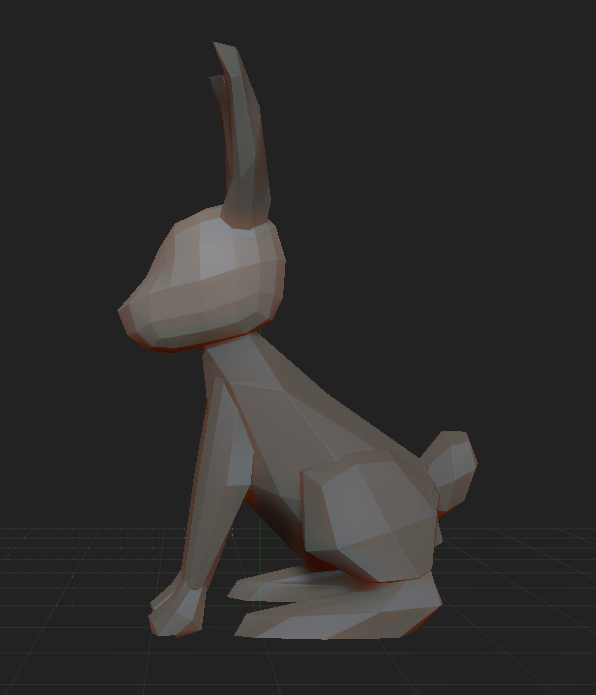
Final rabbit


Uv Map
Texture
Tested different fur using paint effects, really loved the fluffy one at the end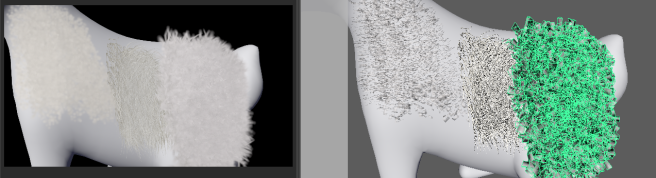
Tried to apply with all over but it was making everything incredibly slow and was also hovering over the model itself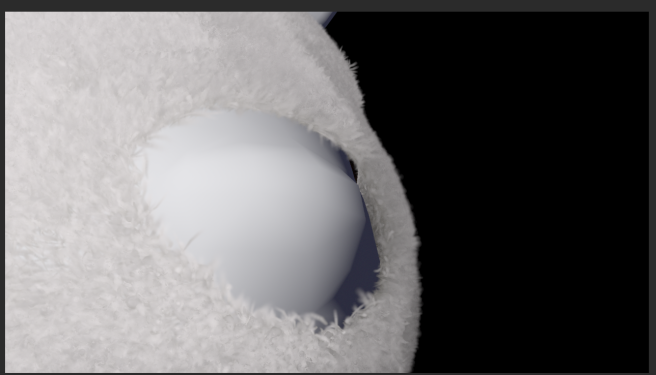
Looked more like a mask and a bit weird.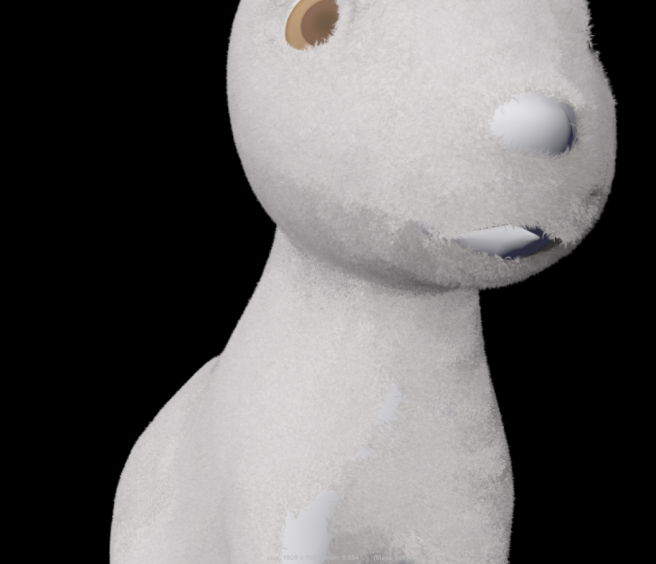
Using the same technique I created the duck;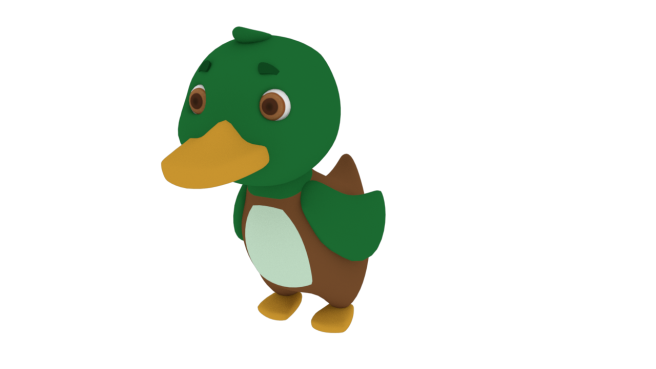
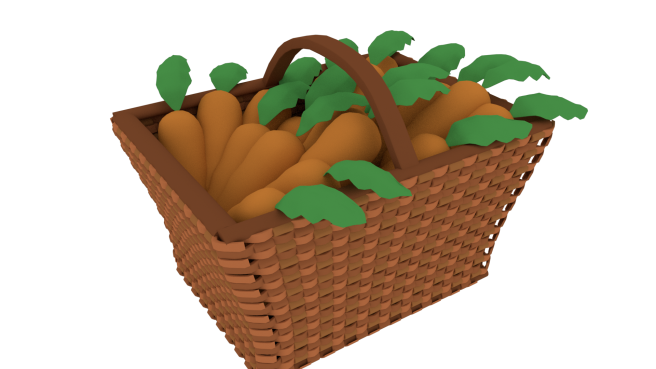
I then created the basket of carrots. I weaved the strands in and out of each other to create the basket look and then created the carrots
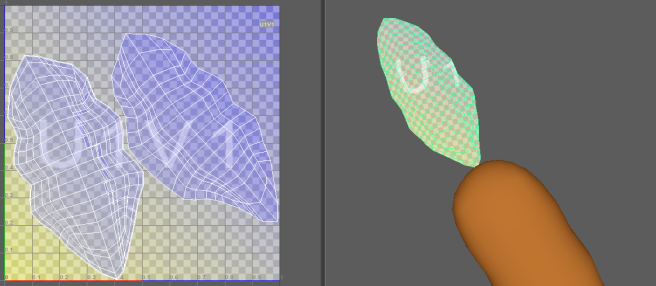
UV of the carrots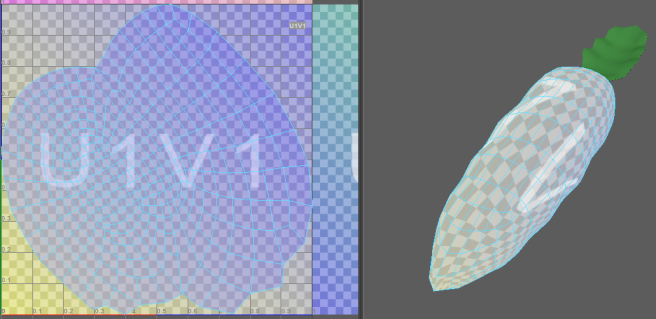
We made a lot of progress with the project, especially with the characters in which he ended up going with what we originally had, it is all described in our presentation below;
This means we can move on to texturing and start putting everything together.
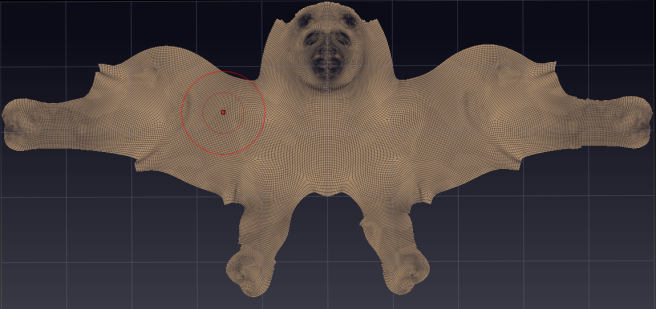
I helped Michelle with the horse UV mapping and Hair;

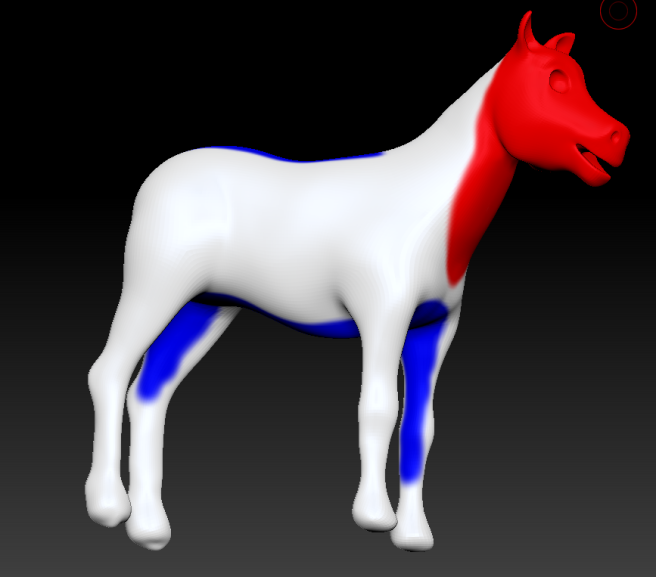

Hair:


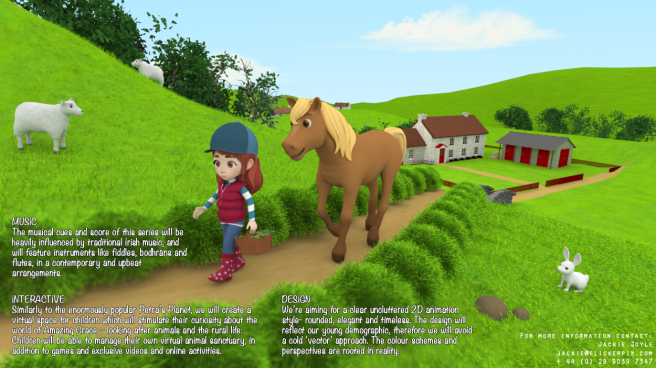
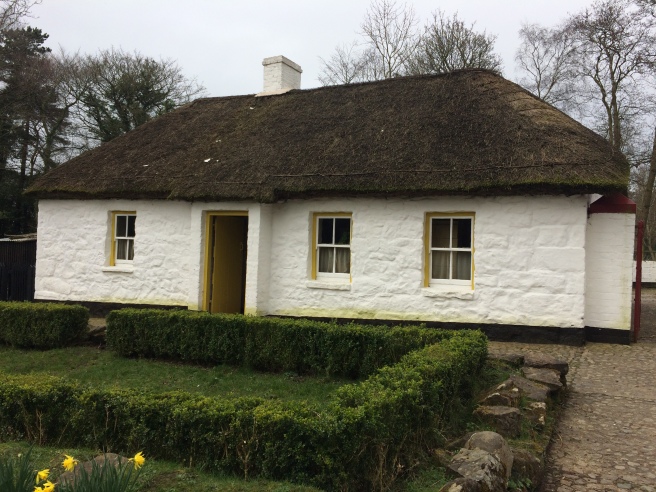
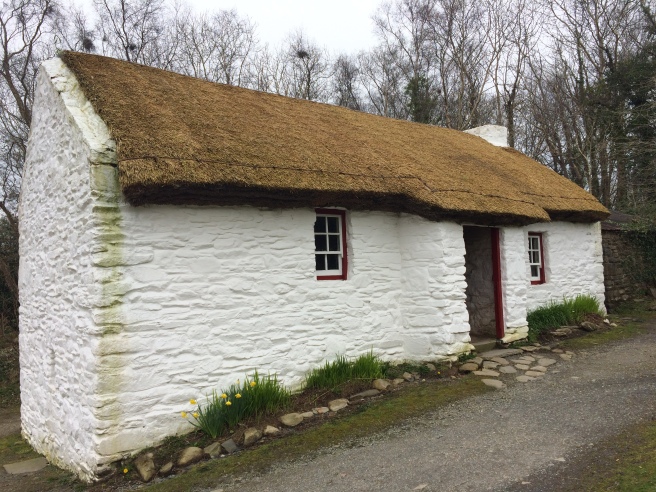
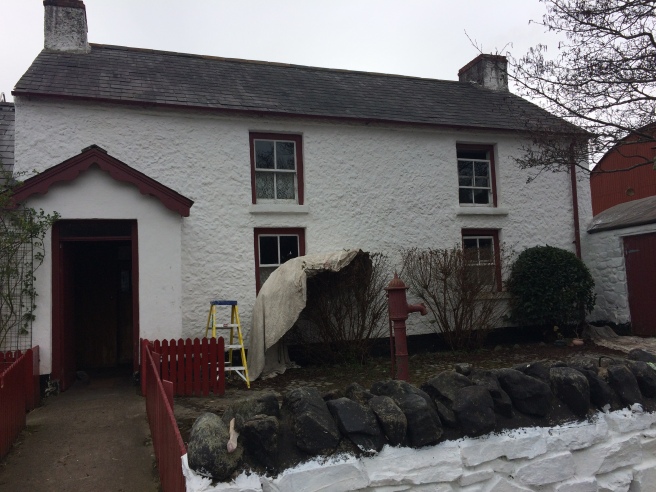
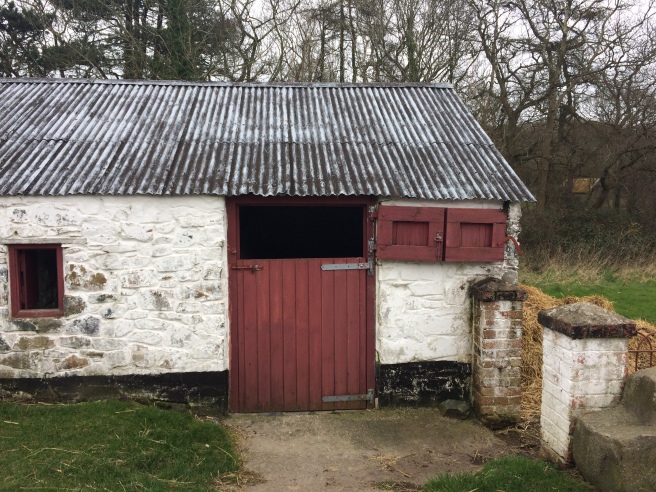
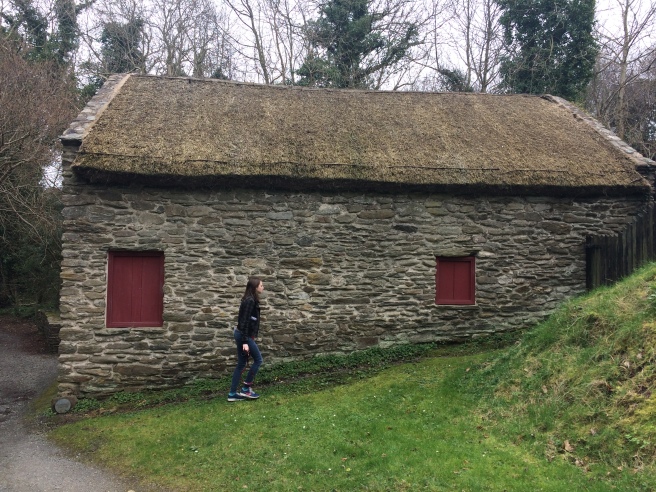
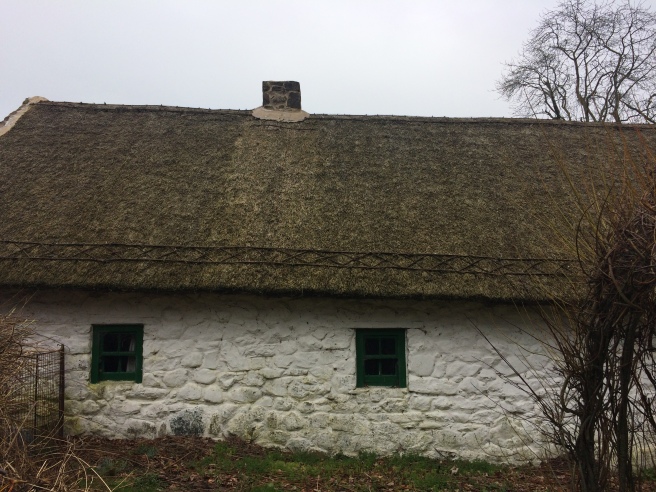
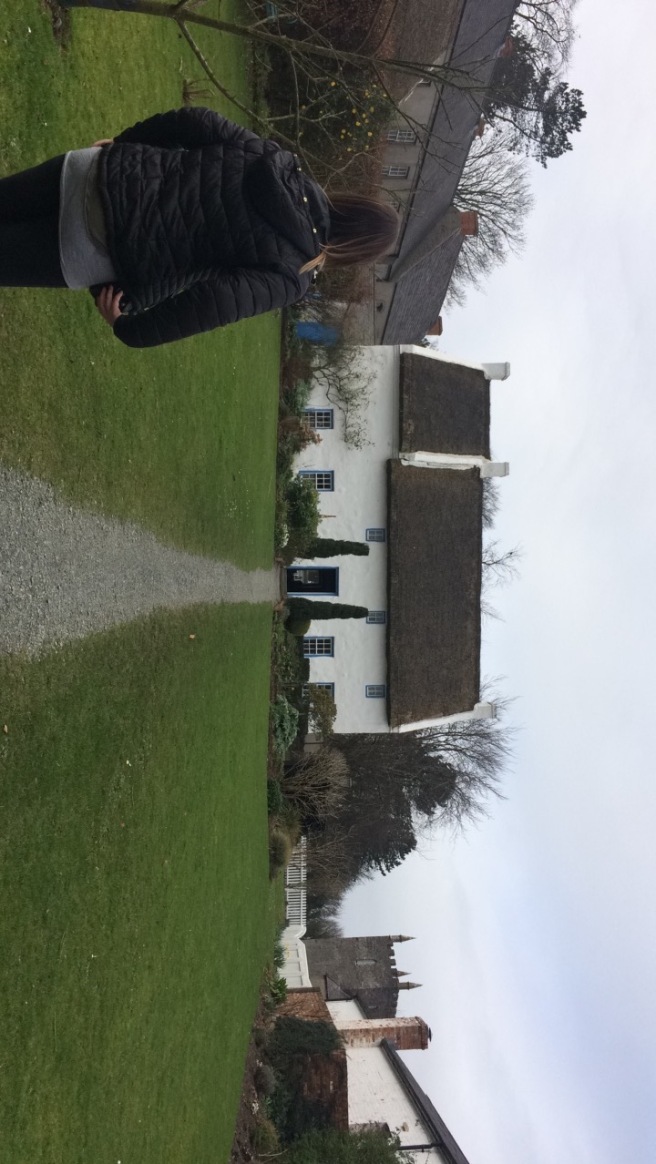
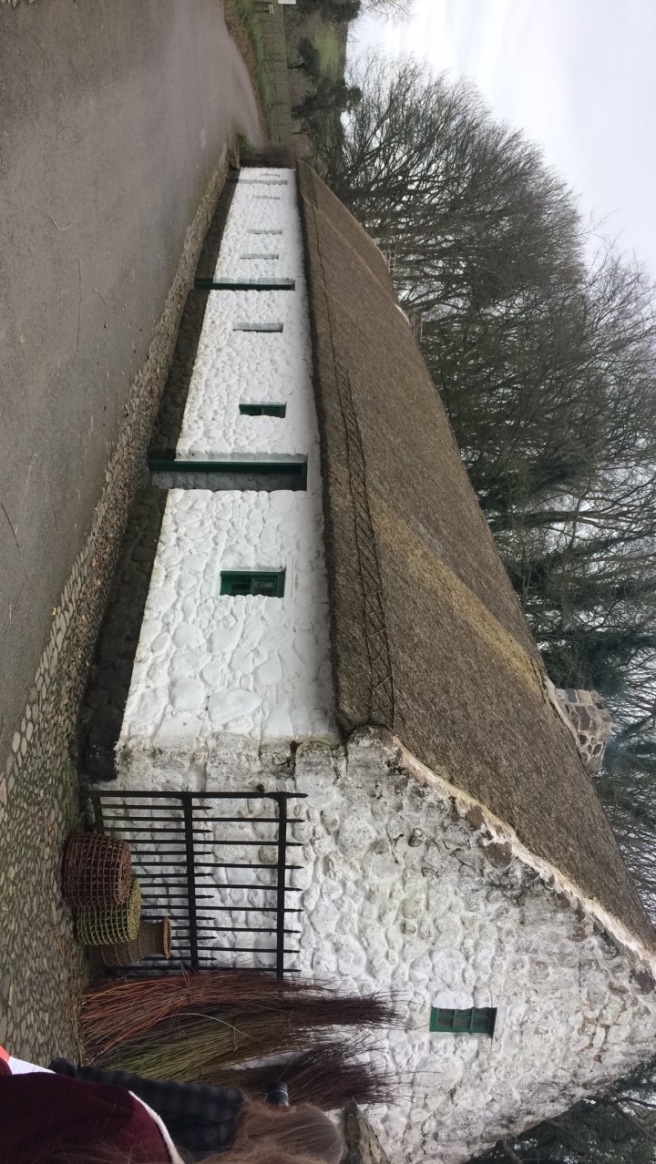
Michelle and I tag teamed each other and worked on the background houses for the Scene. As always make sure to research first. since Joel wants it to be in the irish countryside we did our research into the traditional houses that would be there. This was definitely helped by going on our trip to the Ulster Folk and Transport museum as we were able to see the actual design of the houses there.
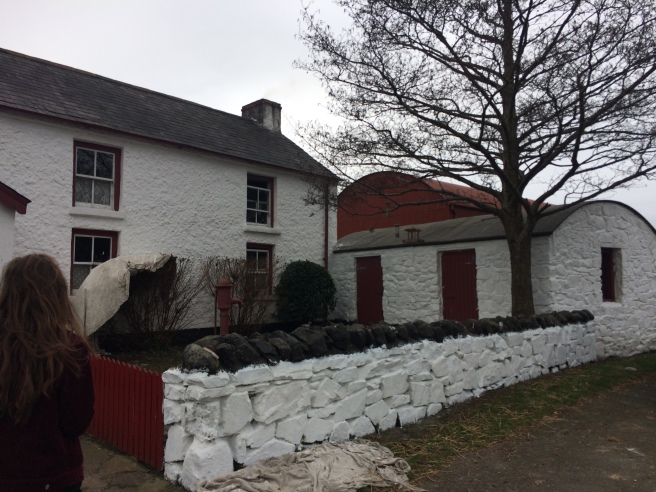
As you can see from the pictures below the windows are fairly small, the doorways are practically right up to the roof and the roofs are traditionally thatched. You can also see how small the houses are in the last picture where you can see it compared to Sinead walking in front of it. This is important to note for the scale of the house in comparison to grace and the surroundings;


This was my first attempt at some houses before going to the Ulster Folk museum. As you can see it was too model for the style that Joel is going for and t

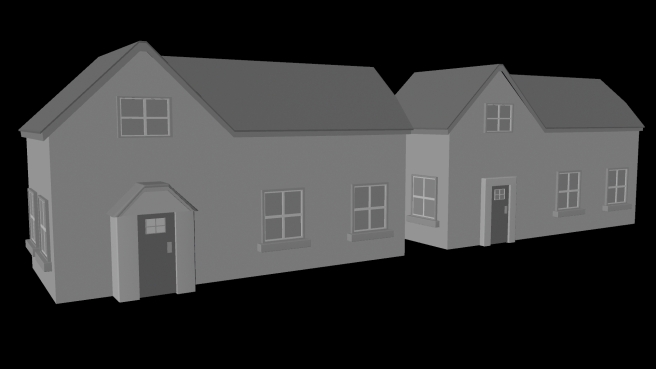
Taking into consideration the research that we had done I created this house below. I still kept it very simple looking as it will be in the distance;

I created another more simplistic one with more of a thatched looking roof that I will pass over to michelle for texturing;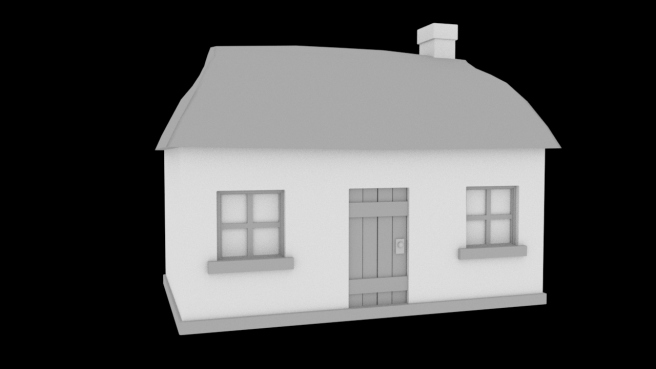
For further research I suggested that we take a trip to the ulser folk and transport museum as it would help us plan out the scenery better for the scene;
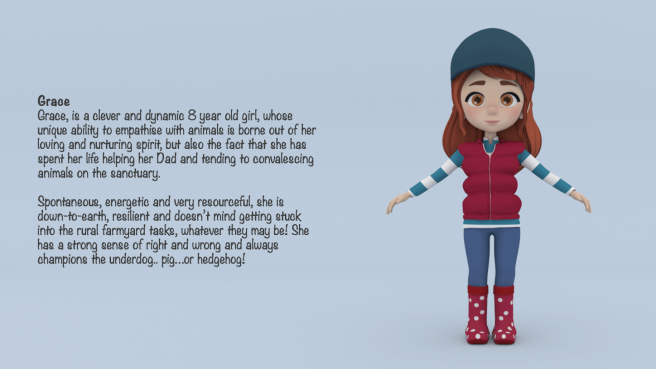
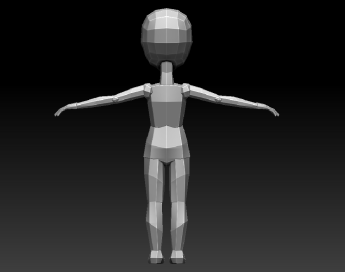
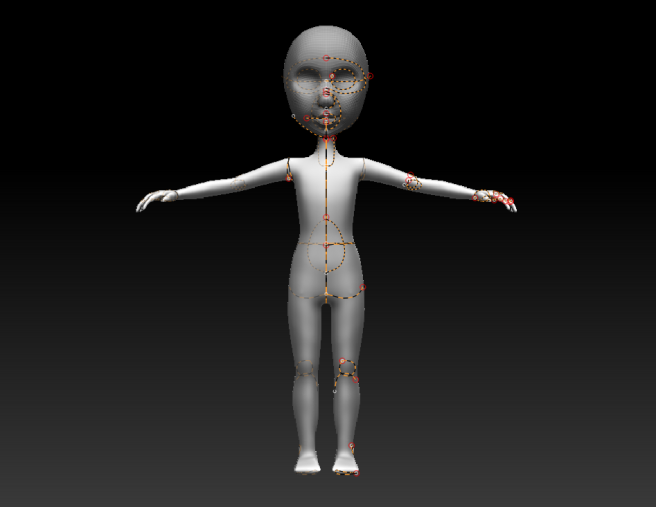
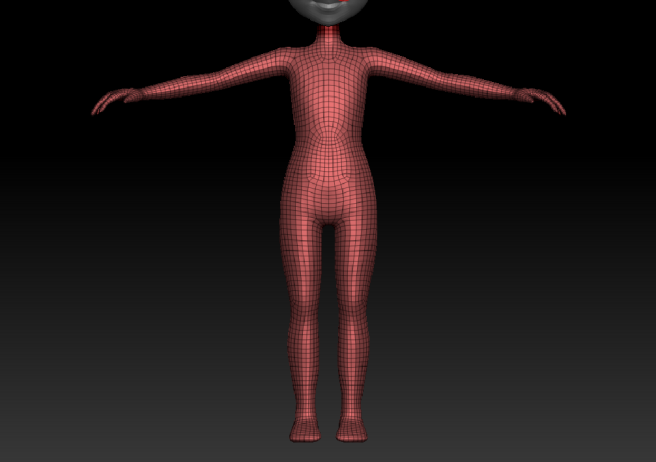
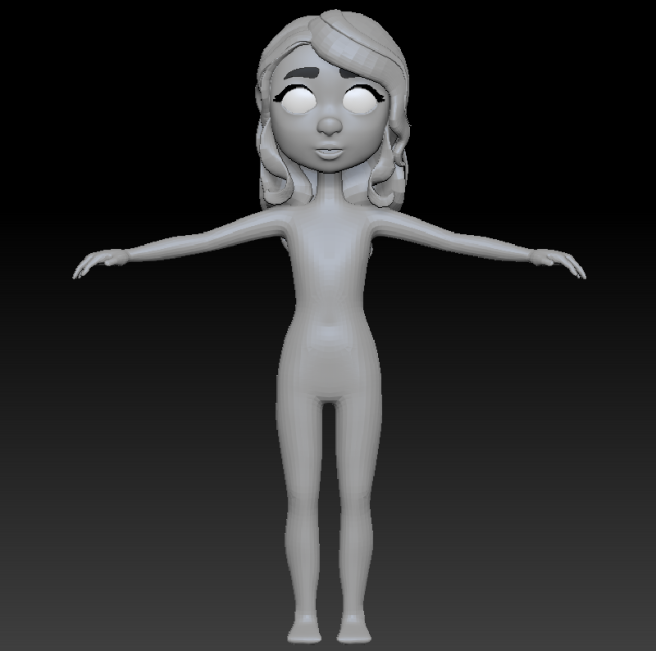
When it came to modeling grace I started by blocking out the basic shape of the character, trying to keep in mind a young girls anatomy as well as keeping to the stylized look that was in their initial concepts that they had created. This was especially important as you want to make sure that you are keeping to what your client wants. Since we had not had a proper meeting with Joel yet it I just went off of what he had given us.
I worked on the main body shape first by using the Qsphere tools and shaping them into the correct proportions. This is a great way of getting the correct silhouette to what you’re looking for.
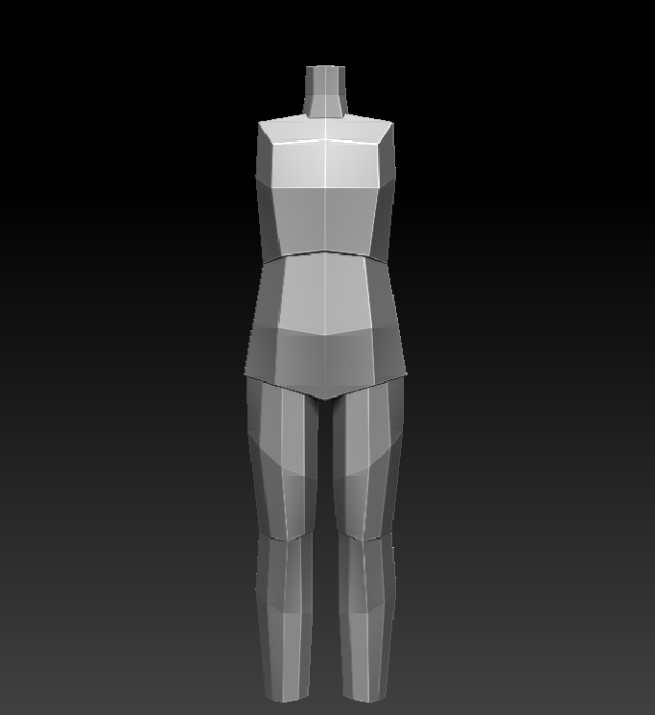
This is the finalized block out, I took into consideration of how she would look when turned into 3D and how I could make it work when bringing her into 3D, which is incredibly important as you don’t want her to end up ending up in uncanny valley.

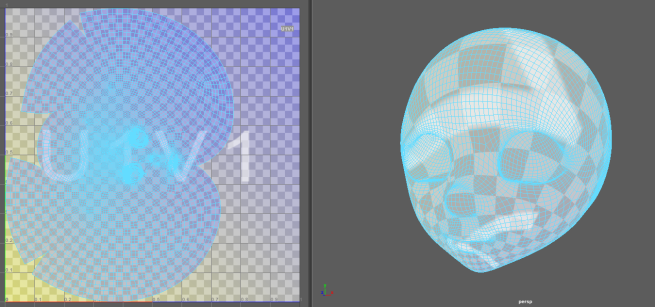
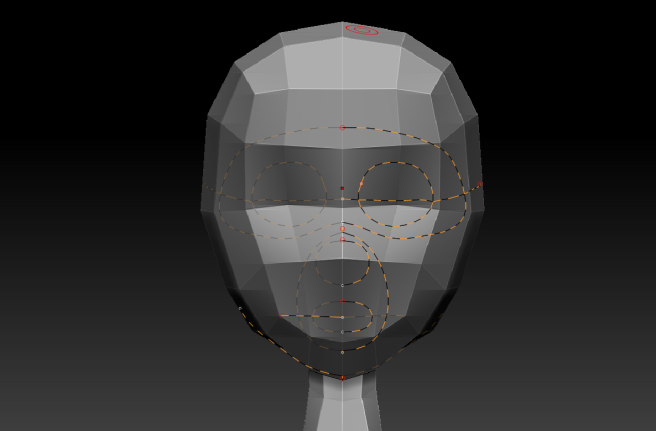
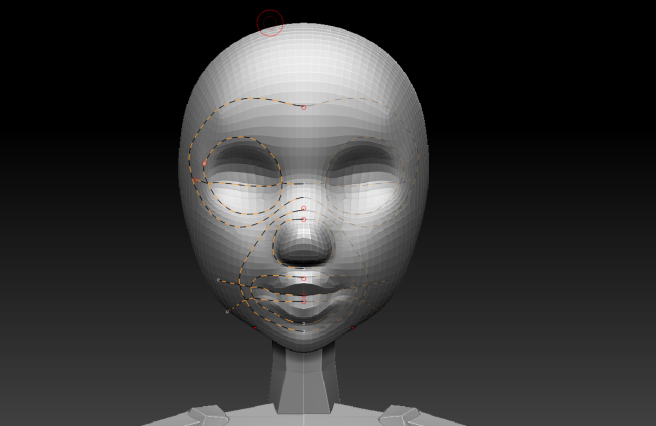
How I found that I like to work when sculpting is through the topology, I ZRemesh the whole way through when I find it needs more detail, yet keeping the retopology low so that it will, this is because it helps me model to the correct flow, I’ll also know what I’m getting when I’m keeping it topologized and I am able to keep detail more with a lower topology than I would if I were to work on a really high poly model that is not to the correct topological flow. Below you can see the guide lines that I drew;
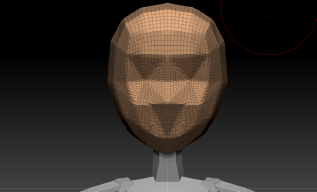
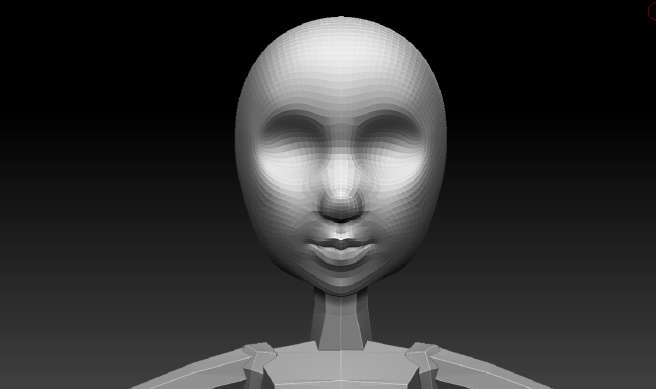
Below you can see how the topology became, and how I smoothed it out and shaped it more. Due to it being retopologised rather than just subdivided I am able to sculpt easier on the mesh.
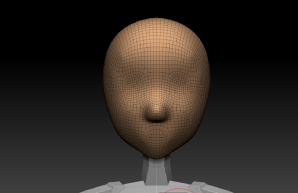
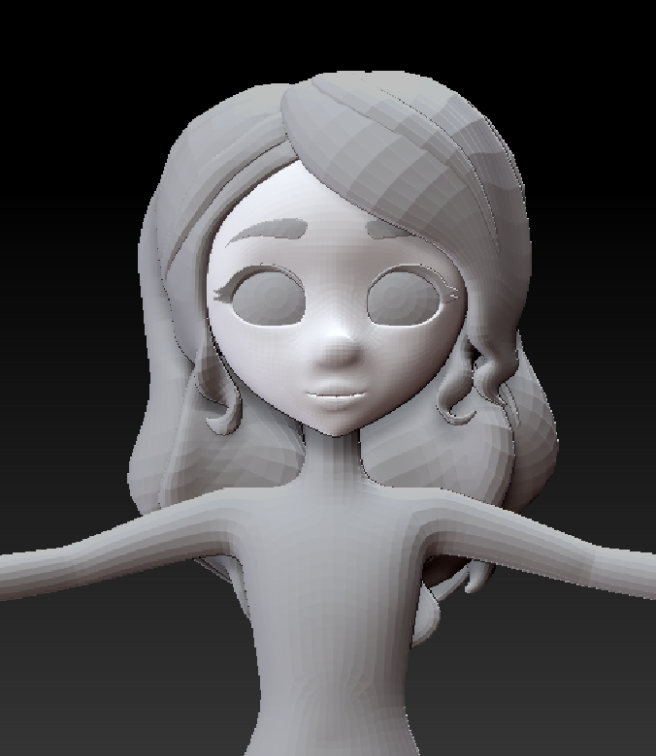
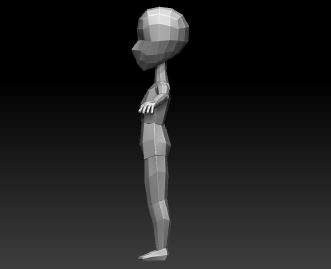
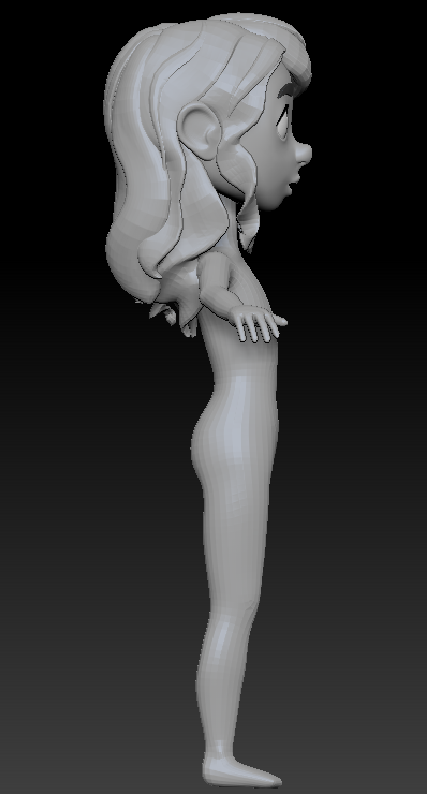
Below you can see progress on the sculpt, I tried to keep it to the original concepts but it started look like it was falling to uncanney valley as you can see from the below process images;
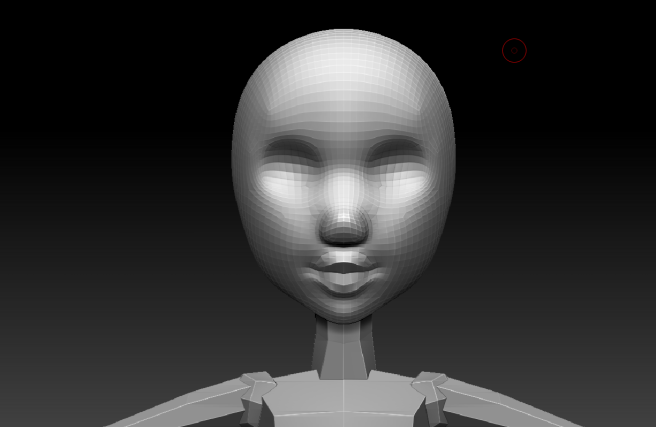

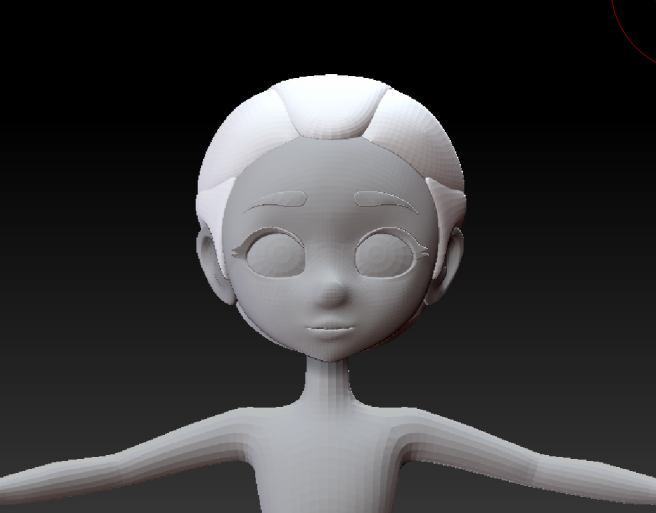
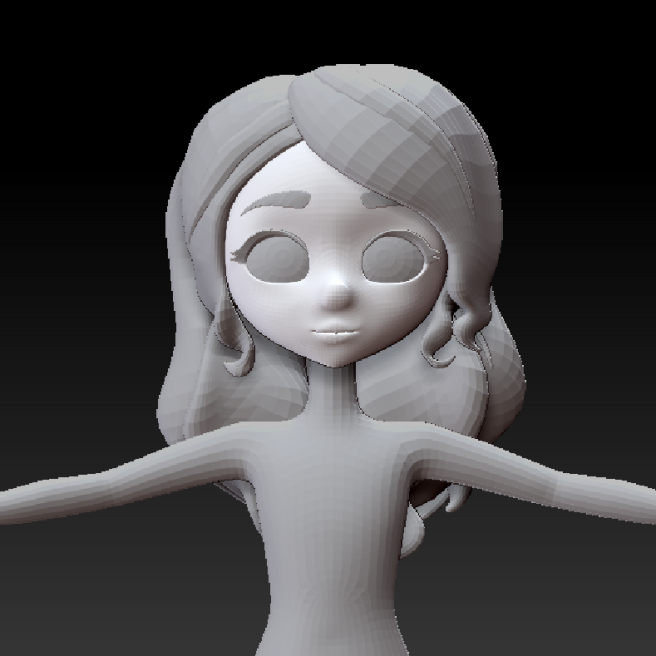
As mention before it was looking like it was falling into uncanny valley so I decided to go suggest a different concept that would work in 3D and to what Joel would want in a character. I made the head a little smaller, eyes, bigger, more of a button nose and smaller lips.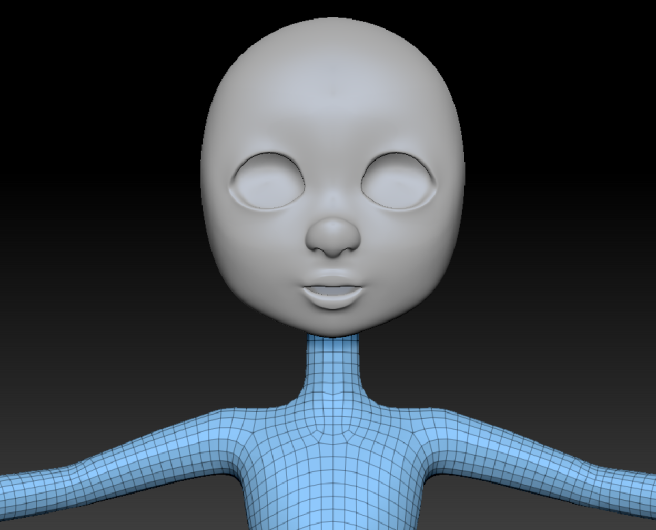
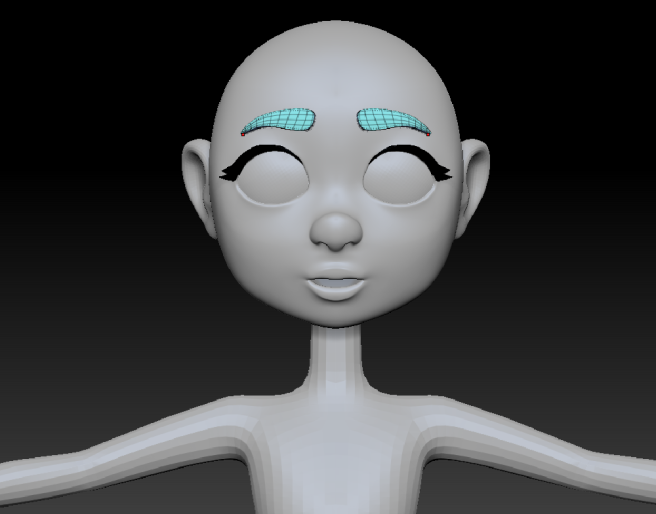
I then added ears, eyebrows, and eyelashes as I found that you are able to see how the face would suit the character
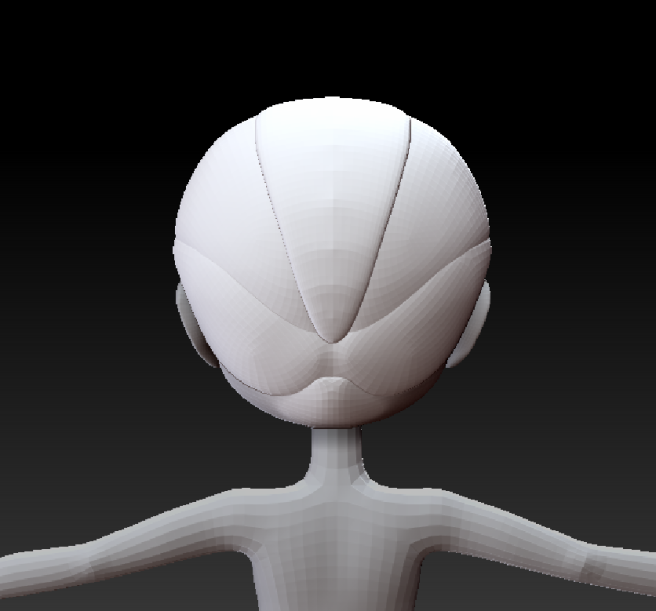
I then tackled the hair and blocked out the basic shape of the cause using the curve tool;
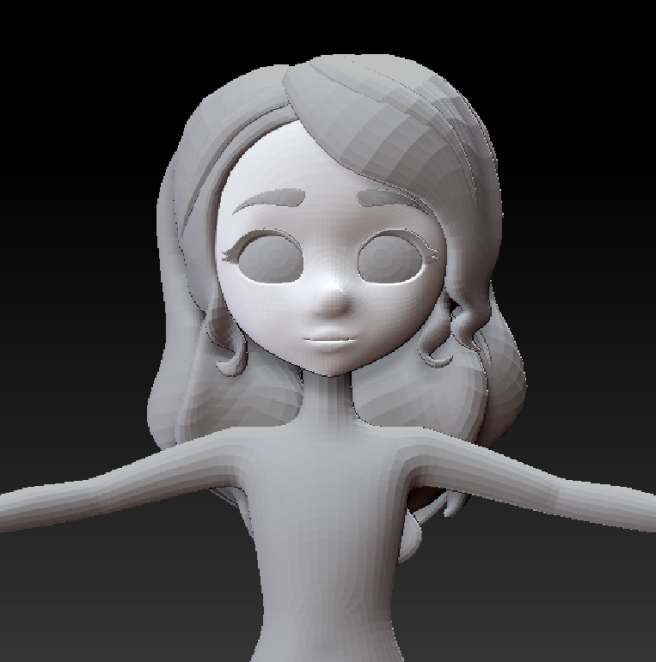
Shots ready to show Joel;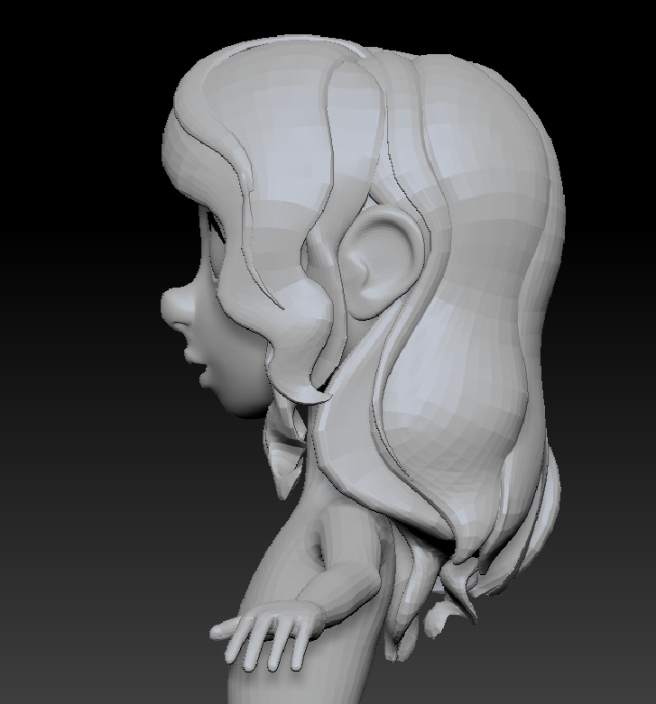


Renders;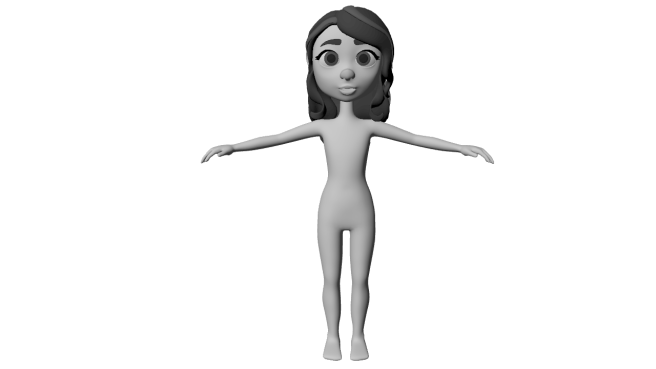
Today our team went to Flickerpix to have our next meeting with Joel, this was super exciting as we were able to see inside their studio and actually get a feel for how they work. It was really interesting seeing their workspace and their models around their studio, it really felt like a lovely environment to work in, with lovely people working there. It was also great seeing the room where they film all their stop motion animations, they had some intricate models out for one of their recent projects that they are working on.
After Joel gave us the tour and we had talked to the other employees that were there we then went into Joel’s office to update him on our progress. We showed him our presentation that we had created for our last class as it had everything up to date, we talked through it with Joel and he gave us feedback on where he felt needed some changes.
For the Grace model, he felt that the face needed to be more of a V shape, with the head being more top heavy, so add a tiny bit more of a forehead with more pronounced S curves. He also said to make the hair more fluffy as he always sees her with fluffy untamed hair. While on the topic of hair we talked about how the hair would realistically be tied back when you are horse riding as you wouldn’t want to have hair blowing in your face and if he wants the animation to be education its something to consider. So I am going to make the changes as said before and then move on to creative a variation of hair that is tied back and will work with the hat, which will include the pigtails, french braid, plait in pigtails and a low ponytail. When doing the hair I will also make sure to have the strands of hair at the side of her face as that is one of the main requests that he wants.
Joel then requested that the nose should be made more of a button as he felt that it was too flat, he wanted more of the curves of the face to show through so that’s an easy fix that I can apply to the sculpt and send to Joel to get confirmation on the head sculpt.
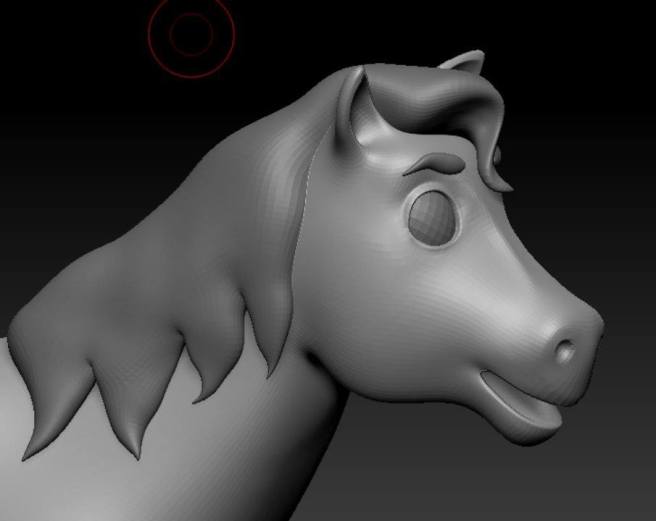
We then discussed the new horse concept that we had created which he loved and we talked about how we wanted to make it resemble more of a connemara horse rather than a shetland horse.
